Introduction
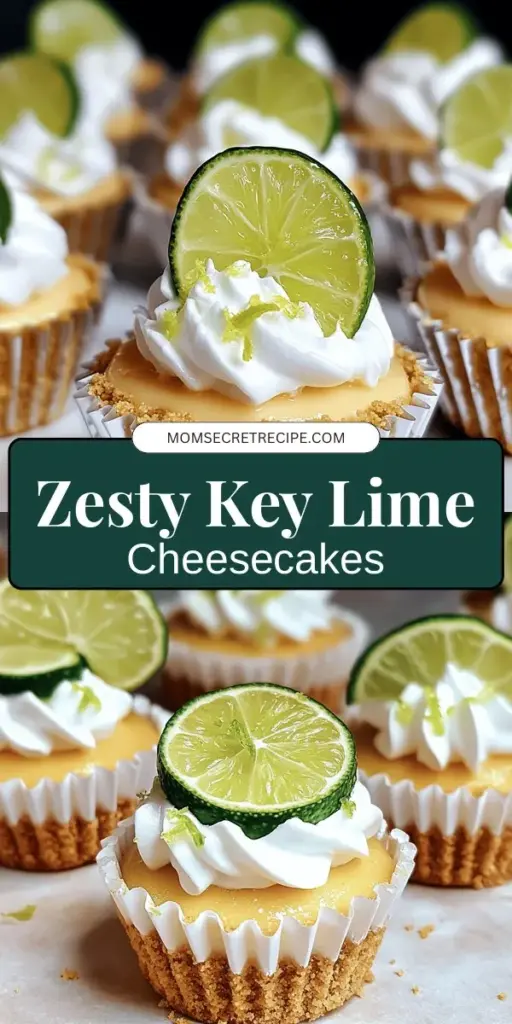
Mini cheesecakes have surged in popularity over the past few years, and it’s easy to see why. These delightful, bite-sized treats offer all the creamy indulgence of traditional cheesecakes while allowing for portion control and presentation versatility. Whether served at parties, family gatherings, or simply as an after-dinner treat, mini cheesecakes have become a go-to dessert for many. Among the various flavors available, the bright and tangy profile of key lime stands out, providing a refreshing escape from the heaviness often associated with desserts.
Key lime flavor, derived from the small, aromatic limes native to the Florida Keys, is known for its tartness and vibrant citrus notes. When combined with the creamy goodness of cheesecake, it creates a delightful balance that is both zesty and satisfying. In this article, we will provide a detailed recipe for Zesty Mini Key Lime Cheesecakes, guiding you through the preparation steps, ingredient insights, and serving suggestions that will elevate your dessert game.
Understanding Key Ingredients
To create the perfect Zesty Mini Key Lime Cheesecakes, it is essential to understand the role of each ingredient in the recipe. Here’s a closer look at the key components that come together to create this delicious dessert.
Graham Cracker Crumbs
The foundation of any cheesecake is its crust, and for this recipe, graham cracker crumbs are the star. These sweet, crumbly bits add a delightful crunch and a hint of caramel flavor that perfectly complements the creamy filling. The combination of butter and graham cracker crumbs not only provides structure but also enhances the overall taste of the dessert. When baked, the crust becomes slightly firm, offering a satisfying contrast to the smooth cheesecake filling.
Cream Cheese
Cream cheese is undoubtedly the heart of any cheesecake, contributing to its classic texture. To achieve that signature smoothness and richness, it is important to use full-fat cream cheese. This ingredient brings a luscious, creamy mouthfeel to the filling, ensuring that each bite melts seamlessly in your mouth. When beating the cream cheese, it is crucial to ensure it is at room temperature to avoid lumps and incorporate air, leading to a light and airy cheesecake.
Sour Cream
Sour cream plays a vital role in enhancing the flavor profile of the cheesecake while adding a layer of richness. Its tangy taste complements the sweetness of the cream cheese and balances the tartness from the key lime juice. Additionally, sour cream contributes to the smooth texture of the filling, ensuring that the cheesecakes are not only delicious but also creamy and decadent.
Lime Juice and Zest
The freshness of key lime juice and zest is what truly brings the zesty flavor profile to life. Fresh lime juice provides that essential tanginess, while the zest adds aromatic oils that enhance the overall lime flavor. Using fresh ingredients is key to achieving the best results, as bottled lime juice often lacks the brightness and vibrancy that fresh limes offer. This combination of juice and zest ensures that each mini cheesecake is bursting with that signature key lime flavor.
Eggs
Eggs are crucial in binding the ingredients together and providing structure to the cheesecake filling. They help the cheesecake set properly while contributing to the overall texture. When incorporating eggs into the mixture, it is important to add them one at a time, ensuring that each egg is fully incorporated before adding the next. This step is essential in achieving a smooth and homogenous filling that bakes evenly.
Preparation Steps for Zesty Mini Key Lime Cheesecakes
Now that we understand the essential ingredients that will make our Zesty Mini Key Lime Cheesecakes outstanding, it’s time to dive into the preparation steps. Follow these detailed instructions to create the perfect batch of mini cheesecakes.
Preheating the Oven and Preparing the Muffin Pan
Before you begin mixing your ingredients, preheat your oven to 325°F (163°C). Setting the correct temperature is crucial for baking cheesecakes, as it ensures even cooking and prevents cracks from forming on the surface. While the oven is heating up, prepare your muffin pan by lining it with cupcake liners. This will make the removal of the mini cheesecakes much easier after baking.
For an added layer of protection against sticking, lightly spray the insides of the liners with non-stick cooking spray. This is especially helpful if you prefer to skip the liners and grease the muffin pan directly. If using a silicone muffin pan, this step can be omitted, as silicone is naturally non-stick.
Creating the Graham Cracker Crust
To make the graham cracker crust, gather your graham cracker crumbs, melted butter, and sugar. In a mixing bowl, combine 1 ½ cups of graham cracker crumbs, ⅓ cup of granulated sugar, and ½ cup of melted butter. Mix these ingredients until they resemble wet sand, ensuring that all crumbs are evenly coated with butter.
Once mixed, take a tablespoon of the crust mixture and press it firmly into the bottom of each muffin liner. Use the back of a measuring spoon or your fingers to compact the crust, creating a solid base for your cheesecakes. After lining all the muffin cups, bake the crusts in the preheated oven for about 8-10 minutes, or until they are lightly golden and fragrant. This baking step helps to set the crust and develop a deeper flavor.
Mixing the Cheesecake Filling
While the crust is baking, it’s the perfect time to prepare the cheesecake filling. Begin by placing 16 ounces of softened cream cheese into a large mixing bowl. Using an electric mixer on medium speed, beat the cream cheese until it is smooth and creamy, about 2-3 minutes. Make sure to scrape down the sides of the bowl to ensure all cream cheese is incorporated.
Next, add ½ cup of granulated sugar and continue to beat the mixture until combined. This step is essential to create a sweet and creamy base for your cheesecake filling. Following this, add ½ cup of sour cream, ⅓ cup of fresh key lime juice, and the zest of two limes. Beat the mixture until smooth, ensuring there are no lumps—this will result in a velvety filling.
Finally, add two large eggs, one at a time, mixing well after each addition. Be careful not to overmix at this stage; just mix until the eggs are fully incorporated. The filling should be smooth and creamy, ready to pour over the pre-baked crusts.
As you prepare to combine the crust and filling, keep an eye on your oven timer, as the crust should be just about ready. This is a critical step in achieving the ideal texture and flavor for your Zesty Mini Key Lime Cheesecakes, setting the stage for a delicious dessert that will impress your family and friends.
Stay tuned for the next part, where we will continue with the baking process and tips for serving these delightful mini cheesecakes.
Importance of Not Overmixing When Adding Eggs
When crafting your Zesty Mini Key Lime Cheesecakes, it’s crucial to handle the eggs with care. Overmixing can lead to a dense and rubbery texture, which is not what we want for these light and creamy cheesecakes. As you add the eggs to your mixture, incorporate them gently until just combined. This technique ensures that air is not overly incorporated, maintaining the perfect silky smoothness we aim for. Remember, a few small lumps are okay; they will bake out beautifully.
Filling the Cupcake Liners
Once your cheesecake mixture is ready, it’s time to fill the cupcake liners. Using an ice cream scoop or a measuring cup can help you achieve consistent portions. This is important not only for even baking but also for an aesthetically pleasing presentation. Aim to fill the liners about three-quarters full; this allows enough space for the cheesecakes to rise slightly without overflowing.
Visual Cues for the Ideal Filling Level
You should visually assess the filling level to ensure uniformity. A good rule of thumb is to fill each liner to the point where the batter reaches just below the rim. This will give them enough room to rise without spilling over. As you fill, keep an eye out for small bubbles that may form—these can be popped gently with a toothpick if necessary.
Baking Process
With your mini cheesecakes filled and ready, it’s time to pop them into the oven. The ideal baking time for these mini delights is typically around 18 to 20 minutes at 325°F (160°C). However, every oven is different, so keep an eye on them towards the end of the baking time.
Significance of the Slight Jiggle
One of the key indicators of doneness for these cheesecakes is a slight jiggle in the center. This means that while the edges are set, the center remains soft and will firm up as the cheesecakes cool. Avoid the temptation to bake them until completely firm, as this can lead to a dry texture.
How to Check for Doneness Without Compromising the Cheesecakes
To check if your mini cheesecakes are done, gently tap the oven door to watch for movement. If the centers jiggle but the edges appear firm, they are ready to come out. Avoid using a toothpick or knife to poke them, as this can disrupt the surface and lead to unsightly cracks.
Cooling and Setting
After removing the cheesecakes from the oven, they will need to cool before setting them in the refrigerator. It is essential to let them cool at room temperature for about 30 minutes. This gradual cooling helps prevent cracks and allows them to settle properly.
Recommended Refrigeration Time for Best Results
Once they have cooled, transfer the mini cheesecakes to the refrigerator. For optimal results, refrigerate them for at least 4 hours or overnight if possible. This chilling time not only enhances the flavors but also allows the filling to firm up to the ideal creamy consistency.
Serving Suggestions
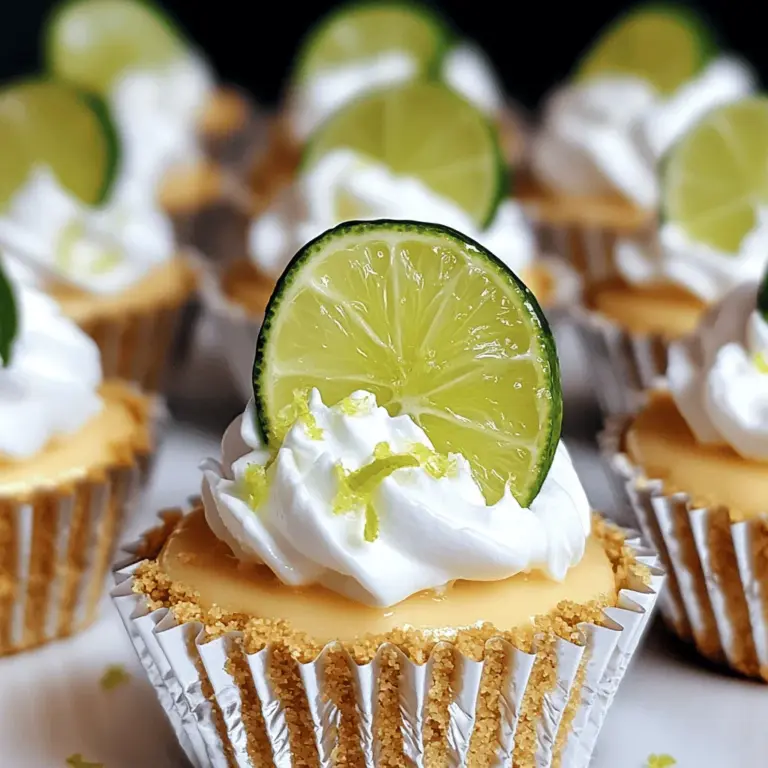
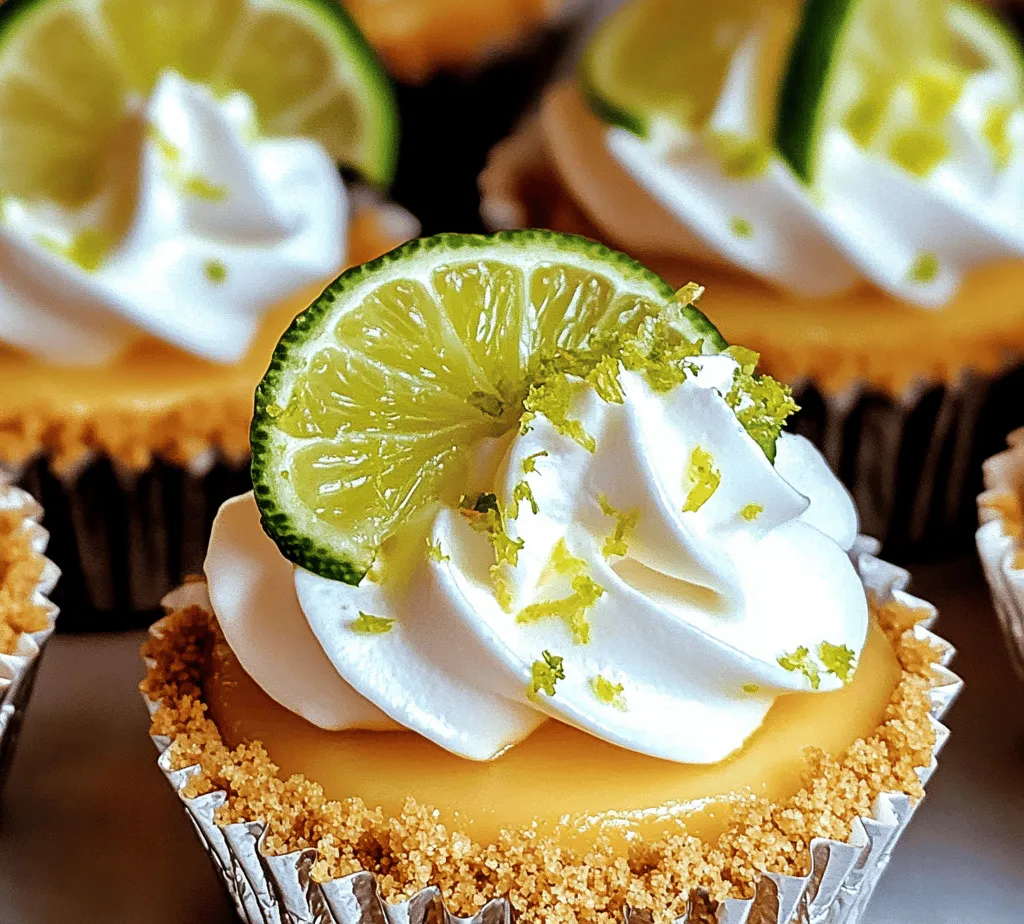
Presentation is key when it comes to serving your Zesty Mini Key Lime Cheesecakes. Once they are properly chilled, consider garnishing each cheesecake with a dollop of freshly whipped cream and a thin slice of lime. This not only adds a pop of color but also enhances the zesty flavor profile.
Ideas for Garnishing
For a touch of elegance, you can sprinkle some graham cracker crumbs on top or add a sprinkle of zest from a fresh lime. These garnishes will elevate your dessert, making it look as delightful as it tastes.
Pairing Suggestions with Beverages
These mini cheesecakes are versatile and pair wonderfully with various beverages. Consider serving them alongside a refreshing iced tea, a rich cup of coffee, or even a light cocktail like a mojito or gin and tonic. The bright flavors of the key lime complement the zestiness of these drinks, making for a perfect dessert experience.
Nutritional Information
When indulging in homemade desserts, it’s always good to be mindful of what’s in your treats. Each mini key lime cheesecake typically contains around 150-200 calories, depending on the specific ingredients used. Here’s a rough breakdown per serving:
– Calories: 180
– Total Fat: 10g
– Saturated Fat: 5g
– Cholesterol: 40mg
– Carbohydrates: 18g
– Sugars: 10g
– Protein: 3g
Discussion on the Balance of Indulgence and Moderation in Desserts
While these cheesecakes are a sweet indulgence, keeping portion sizes in check allows you to enjoy them without guilt. Emphasizing moderation is key; savoring a single mini cheesecake alongside a cup of herbal tea can create a satisfying end to any meal without overindulging.
Conclusion
Making Zesty Mini Key Lime Cheesecakes is not just about following a recipe; it’s about creating a delightful experience that can be shared with friends and family. The process of blending flavors, watching them bake, and finally enjoying the fruits of your labor is truly rewarding.
These cheesecakes are perfect for gatherings or celebrations, bringing a refreshing zest that guests will love. Moreover, homemade desserts add a personal touch that store-bought treats simply cannot match.
Feel free to explore variations of this recipe by adding your favorite ingredients—perhaps a hint of coconut, a swirl of raspberry puree, or even a chocolate drizzle. Each twist on the classic will create a unique experience, allowing you to make these mini cheesecakes your own. Enjoy the journey of baking and the joy of sharing your creations!
