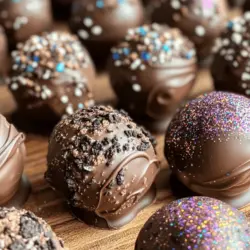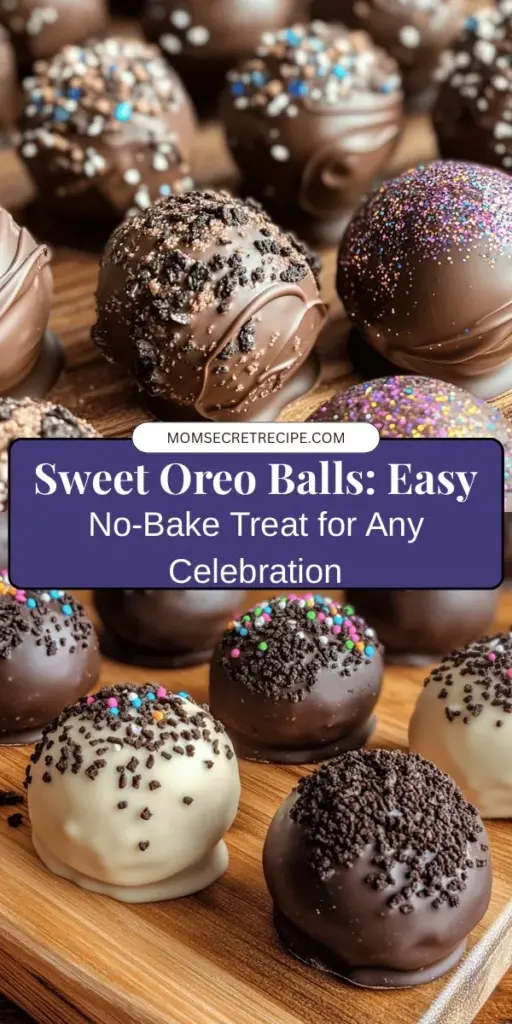
Delightful Oreo Balls are an exquisite treat that has won the hearts of dessert enthusiasts everywhere. Known for their rich flavor and delightful texture, these bite-sized confections are a perfect addition to any celebration, whether it’s a birthday party, holiday gathering, or simply a sweet indulgence at home. What makes Oreo Balls so appealing is not just their delectable taste, but also their simplicity. With just a handful of ingredients—including the iconic Oreo cookies and creamy cream cheese—you can whip up these tasty delights in no time.
The origin of Oreo Balls is rooted in the ever-popular trend of no-bake desserts, which have gained immense popularity in recent years. These treats capitalize on the beloved flavor of Oreos, combining it with a cream cheese base to create a rich, creamy filling that is then coated in smooth melted chocolate. This recipe allows for a variety of adaptations, making it a versatile choice for anyone looking to indulge their sweet tooth or impress their guests.
In this article, we will guide you through a detailed, step-by-step process for making Delightful Oreo Balls, explore variations of the recipe, discuss storage tips, and delve into the history behind this beloved dessert. Whether you are a seasoned baker or a novice in the kitchen, you’ll find that making these Oreo Balls is not only easy but also immensely satisfying.
Understanding the Ingredients
Before we embark on our Oreo Balls journey, it’s essential to understand the key components that contribute to their delightful flavor and texture.
Oreo Cookies
At the heart of this recipe lies the iconic Oreo cookie. These chocolate wafers, filled with a sweet vanilla cream, provide both flavor and texture to the Oreo Balls. When crushed, the cookies create a rich, chocolatey base that pairs perfectly with the cream cheese. The balanced sweetness of Oreos makes them the star ingredient, ensuring that every bite is a treat.
Cream Cheese
Cream cheese is the second essential ingredient that adds richness to the Oreo Balls. It acts as a binding agent, bringing the crushed Oreo cookies together to form a cohesive mixture. The creaminess of the cheese also contributes to the overall texture, transforming the dry cookie crumbs into a dough-like consistency that is easy to mold.
Chocolate Chips
To give the Oreo Balls a decadent finish, we use chocolate chips for coating. The melted chocolate transforms the Oreo Balls into a visually appealing dessert, adding a smooth, sweet outer layer that contrasts beautifully with the creamy filling. Dark, milk, or white chocolate can be used depending on your preference, allowing for customization based on taste.
Coconut Oil
Coconut oil is an optional addition that enhances the chocolate coating. When mixed with melted chocolate, it creates a glossy finish and improves the coating’s texture, making it smoother and easier to work with. If you want a shiny, professional-looking finish, consider incorporating coconut oil into your melting chocolate process.
Garnishes
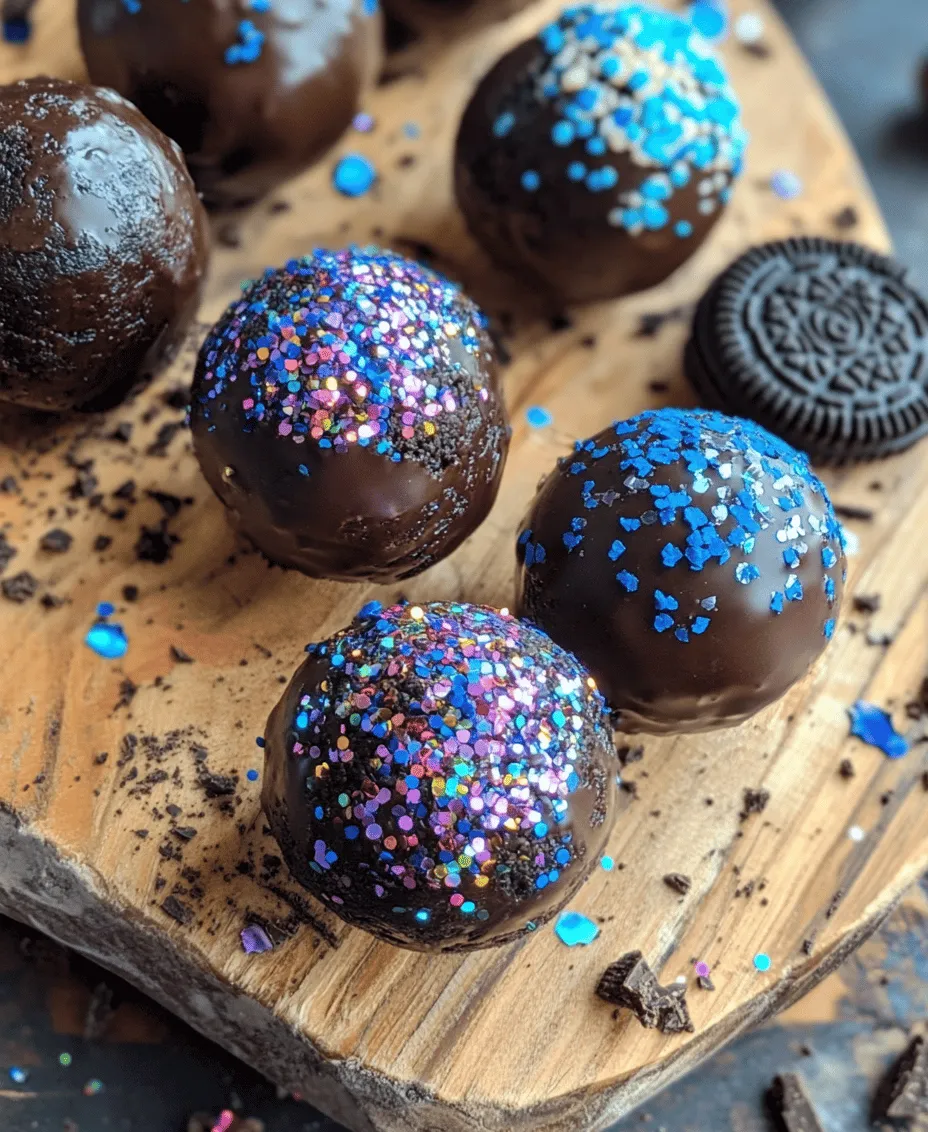
Garnishes play a crucial role in elevating the presentation of your Oreo Balls. From colorful sprinkles to crushed nuts or drizzles of contrasting chocolate, the creative options for garnishing are endless. Not only do these garnishes enhance the visual appeal, but they can also add texture and flavor, making your Oreo Balls even more enjoyable.
Step-by-Step Guide to Making Oreo Balls
Now that we have a good understanding of the ingredients, let’s dive into the step-by-step process of making these delightful treats. Each step is crucial for achieving the perfect Oreo Balls, so follow along carefully.
Preparing the Cookies
The first step in making Oreo Balls is to prepare the cookies. This involves crushing the Oreo cookies into fine crumbs, which will serve as the base for your mixture.
– Importance of Achieving the Right Crumb Consistency: It’s essential to crush the cookies finely enough to blend seamlessly with the cream cheese. If the crumbs are too coarse, the mixture may not hold together properly.
– Tips on Using a Food Processor Versus Manual Crushing: If you have a food processor, this is the quickest and easiest way to achieve fine cookie crumbs. Simply add the Oreos to the processor and pulse until they reach a powder-like consistency. If you don’t have a food processor, you can place the cookies in a zip-top bag and use a rolling pin to crush them manually.
Mixing with Cream Cheese
After preparing the cookie crumbs, the next step is to mix them with cream cheese.
– Achieving the Perfect Dough-like Texture: In a mixing bowl, combine the crushed Oreos with softened cream cheese. Using an electric mixer or a spatula, blend the ingredients together until you achieve a dough-like consistency. The mixture should be moist enough to hold together but firm enough to shape into balls.
– Suggestions for Ensuring Even Mixing: To ensure that the cream cheese is thoroughly incorporated, consider cutting the cream cheese into smaller pieces before adding it to the cookie crumbs. This will help it mix more evenly and prevent any lumps.
Shaping the Balls
Once the mixture is well combined, it’s time to shape the Oreo Balls.
– Techniques for Rolling Uniform-sized Balls: Use a cookie scoop or your hands to portion out the mixture. Roll each portion into a ball, approximately one inch in diameter. Ensuring that the balls are uniform in size helps them to set evenly when coated.
– The Significance of Using Parchment Paper for Easy Handling: As you roll the balls, place them on a parchment-lined baking sheet. This not only prevents them from sticking but also makes it easy to transfer them to the fridge for chilling.
Chilling the Oreo Balls
Chilling the Oreo Balls is a crucial step that allows them to firm up before coating.
– Why Chilling is Essential for Shaping and Coating: Chilling helps the Oreo Balls maintain their shape during the coating process, preventing them from becoming misshapen or falling apart.
– Recommended Chilling Time and Methods: Place the baking sheet with the shaped Oreo Balls in the refrigerator for at least 30 minutes. If you’re short on time, you can also place them in the freezer for about 15 minutes.
Melting the Chocolate
While the Oreo Balls are chilling, it’s time to melt the chocolate for coating.
– Best Practices for Melting Chocolate Safely: You can melt chocolate using a double boiler or the microwave. If using the microwave, heat the chocolate chips in short increments (15-20 seconds), stirring in between until fully melted to prevent scorching.
– The Role of Coconut Oil in Achieving a Glossy Finish: If you choose to use coconut oil, mix it with the chocolate chips before melting. This will help create a smooth and glossy coating that adheres well to the Oreo Balls.
Coating the Oreo Balls
Now that the chocolate is melted and the Oreo Balls are chilled, we can move on to the coating process.
– Techniques for Ensuring a Smooth and Even Chocolate Coating: Dip each Oreo ball into the melted chocolate, using a fork to roll it around until fully coated. Gently tap the fork on the edge of the bowl before transferring the coated ball back to the parchment paper. This allows excess chocolate to drip off, preventing a thick coating.
– Using a Fork for Easy Handling and Excess Chocolate Removal: A fork not only makes it easier to coat the balls but also helps you avoid messy hands. If desired, you can use two forks for better control.
Garnishing
After coating, it’s time to add some creative garnishes to your Oreo Balls.
– Creative Ideas for Garnishing Your Oreo Balls: While the chocolate is still wet, sprinkle crushed Oreos, colorful sprinkles, or chopped nuts over the top. Alternatively, you can drizzle contrasting melted chocolate on top for an elegant touch.
– The Impact of Presentation on Enjoyment: A well-presented dessert not only looks appealing but also enhances the overall enjoyment. Taking the extra time to garnish your Oreo Balls will surely impress your guests and elevate your sweet treat.
Setting the Chocolate
Finally, we need to let the chocolate set.
– Explanation of Different Setting Methods: To set the chocolate, return the coated Oreo Balls to the parchment-lined baking sheet and place them in the refrigerator for about 15-20 minutes, or until the chocolate is firm. Alternatively, you can leave them at room temperature for a couple of hours, but this method may take longer.
With these steps, you’re well on your way to creating Delightful Oreo Balls that are sure to satisfy any sweet craving. Stay tuned for the next part of our article, where we’ll explore variations of this recipe, storage tips, and the delightful history behind this beloved dessert.
Factors That Influence Setting Time
Creating perfect Oreo Balls hinges on a few pivotal factors that can impact their setting time. Understanding these elements will help you achieve that ideal texture and taste.
1. Room Temperature: The temperature of your kitchen can significantly affect how quickly your Oreo Balls set. Warmer environments can slow down the setting process. Aim to work in a cooler area or chill your ingredients before starting the recipe.
2. Cream Cheese Temperature: Using cream cheese straight from the refrigerator can result in a denser mixture that takes longer to set. Allow the cream cheese to sit at room temperature for about 30 minutes prior to mixing. This softening helps the mixture blend well and sets quicker in the fridge.
3. Coating Thickness: The thickness of the chocolate coating you apply can also influence setting time. Thicker layers will take longer to harden. For a quicker setting, consider applying a thinner layer of chocolate and ensuring it is evenly distributed.
4. Chilling Time: After shaping your Oreo Balls, it’s essential to chill them in the refrigerator for at least 30 minutes. For best results, allowing them to sit for an hour or more can yield firmer and tastier treats.
Serving Suggestions
Oreo Balls are a delightful treat that can be enjoyed in various settings. Here are some creative ideas for serving them at gatherings:
1. Platter Presentation: Arrange your Oreo Balls on a decorative platter. Use colored paper liners to separate them, adding a splash of color and making them visually appealing.
2. Themed Decorations: For themed events, consider dressing up your Oreo Balls. For a birthday party, use sprinkles that match the color scheme or edible glitter to add a festive touch.
3. Mini Dessert Cups: Place Oreo Balls in mini dessert cups, layering them with whipped cream or even a scoop of ice cream. This adds an elegant touch and makes it easy for guests to enjoy.
4. Pairing Suggestions: Consider pairing your Oreo Balls with beverages or other desserts. For a classic touch, serve them alongside milk or coffee. If you’re feeling adventurous, try them with dessert wines or flavored liqueurs. They also go wonderfully with rich desserts like brownies or chocolate mousse.
Exploring Variations of Oreo Balls
The beauty of Oreo Balls lies in their versatility. Here are some creative twists on the classic recipe that can elevate your treats:
Flavor Variations
– Flavored Cream Cheeses: Experiment with different cream cheese flavors to add a unique twist. Strawberry cream cheese can add a fruity note, while pumpkin-spiced cream cheese is a delightful choice around fall.
– Flavored Chocolate Coating: Instead of traditional chocolate, try using flavored coatings. White chocolate infused with vanilla or dark chocolate can create a richer taste. For added fun, use colored melting chocolates for a vibrant appearance.
Healthier Alternatives
If you’re looking for a lighter version of Oreo Balls, consider these substitutes:
– Low-Fat Cream Cheese: Replace regular cream cheese with a low-fat alternative. This will reduce the overall calorie count without compromising too much on flavor.
– Dark Chocolate Coating: Opt for dark chocolate instead of milk chocolate for a richer, less sweet treat that also offers health benefits.
– Gluten-Free Oreos: For those with dietary restrictions, gluten-free Oreos are widely available. These can easily be substituted in the recipe to make a gluten-free version of this beloved treat.
Seasonal Themes
Oreo Balls can be tailored to fit any holiday or season. Here are some festive ideas:
– Halloween: Roll your Oreo Balls in orange and black sprinkles or drizzle with white chocolate for a ghostly effect. You can even shape them into pumpkin or ghost forms.
– Christmas: Coat your Oreo Balls in white chocolate and sprinkle with crushed peppermint for a refreshing holiday flavor. Consider using red or green sprinkles for added festivity.
– Creative Garnishing: Use themed decorations like edible glitter, colored sanding sugar, or even themed cupcake toppers to enhance the presentation of your Oreo Balls.
Storage Tips for Oreo Balls
To enjoy your Oreo Balls at their best, proper storage is key. Here are some tips to keep your treats fresh:
Best Practices for Storage
– Storage Containers: Use airtight containers to store your Oreo Balls. This prevents them from drying out and keeps them fresh for longer. Consider using containers that fit the number of Oreo Balls you have to minimize air exposure.
– Optimal Refrigeration Conditions: Store your Oreo Balls in the refrigerator at a consistent temperature. Avoid placing them near the door where temperatures fluctuate more frequently.
Freezing Oreo Balls
If you want to make your Oreo Balls in advance, freezing is a great option:
– Instructions for Freezing: Once your Oreo Balls are fully set and coated, place them in a single layer in an airtight container. You can also freeze them on a baking sheet and then transfer them to a container once solid.
– Defrosting: To enjoy frozen Oreo Balls, transfer them to the refrigerator a few hours before serving. This gradual thawing helps maintain their texture.
– Taste and Texture: Freezing may slightly alter the texture of your Oreo Balls, but they will still deliver a delicious taste. The chocolate may become a bit softer, but the creaminess of the filling remains intact.
The History and Popularity of Oreo Balls
Understanding the origins of Oreo Balls adds an interesting layer to their enjoyment.
Origins of Oreo Cookies
The Oreo cookie has a rich history dating back to the early 20th century. First introduced in 1912 by Nabisco, the Oreo quickly became a staple in American households. Its unique combination of a rich chocolate cookie and sweet cream filling made it an instant success.
How Oreo Balls Became Popular
The transformation of the simple Oreo cookie into Oreo Balls began as home bakers sought new and exciting ways to enjoy their favorite treat. With minimal ingredients and straightforward preparation, Oreo Balls became a hit at parties, holidays, and family gatherings, solidifying their place as a beloved dessert.
Cultural Significance
Oreo Balls have woven themselves into the fabric of celebrations and family traditions. They are often made for special occasions such as birthdays, holidays, and potlucks, bringing people together through shared experiences. Many families have their own unique recipes and presentation styles, making Oreo Balls a cherished part of their culinary heritage.
Conclusion: The Joy of Making and Sharing Oreo Balls
Making and sharing Delightful Oreo Balls is more than just about satisfying your sweet tooth; it’s an experience that fosters connection and joy. With their easy preparation and endless variations, they are the perfect dessert for any occasion, from casual gatherings to formal celebrations.
Whether you stick with the classic recipe or venture into innovative twists, crafting Oreo Balls is a fun and rewarding endeavor. As you savor each bite, you’ll find that the process of creating these confections is just as delightful as sharing them with friends and family. Embrace this joyful tradition and enjoy the smiles your Oreo Balls bring to the faces of those you love.