

Introduction to Homemade Pizza Dough
Homemade pizza dough is one of the cornerstones of pizza-making, transforming a simple meal into a culinary experience that delights the senses. The appeal of crafting your own dough lies not just in the flavor, but in the process itself—creating something from scratch allows for a personal touch that store-bought options simply cannot replicate. The joy of kneading the dough, watching it rise, and finally, shaping it into a perfect pizza base is an experience that every home cook should embark on.
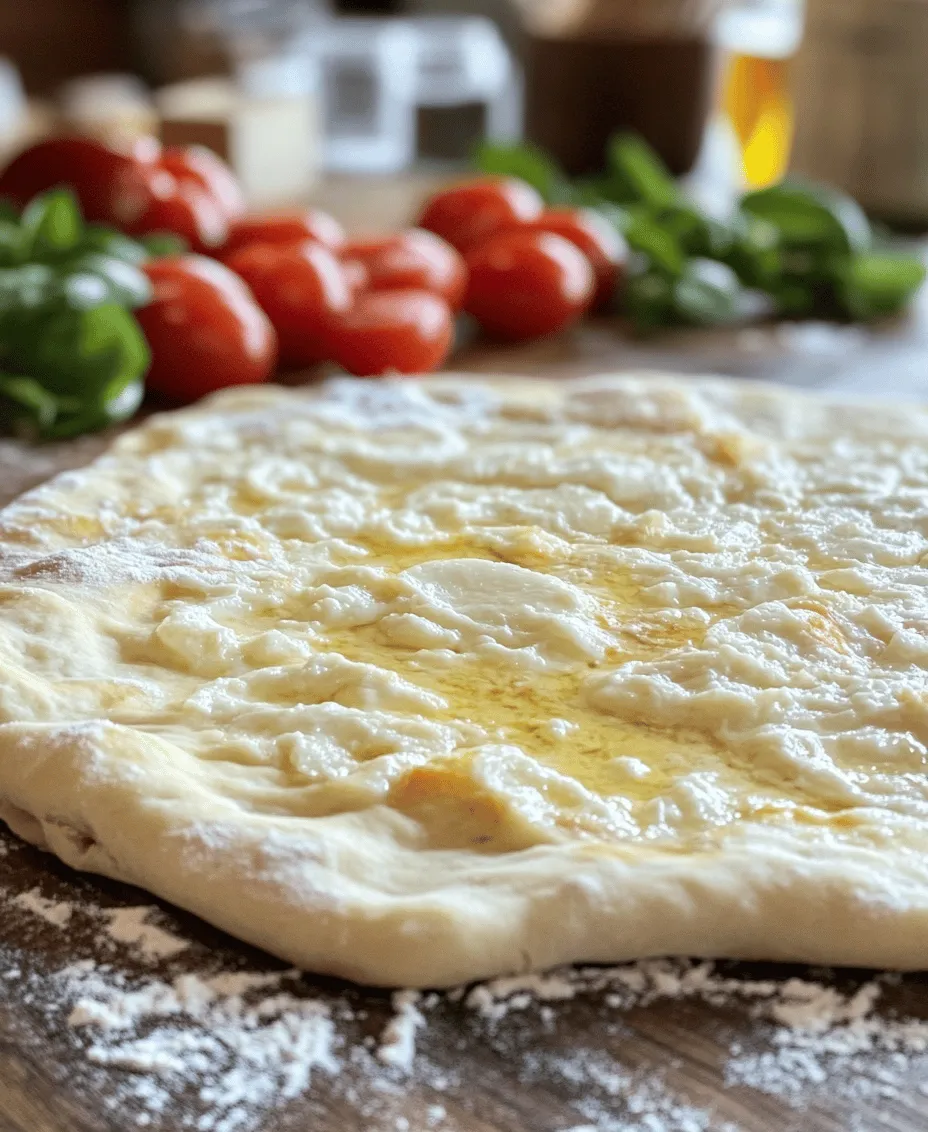
What sets this recipe apart is its ability to deliver a perfectly crispy crust that rivals your favorite pizzeria. The combination of high-quality ingredients, the right techniques, and a little bit of patience results in a dough that is both easy to prepare and full of flavor. Imagine pulling a homemade pizza out of the oven, with a golden-brown crust that’s crispy on the outside and tender on the inside, ready to be topped with your favorite ingredients. This recipe promises just that, with a few simple steps that will have you enjoying homemade pizza in no time.
Understanding the Ingredients
Before delving into the step-by-step process of making pizza dough, it’s essential to understand the role each ingredient plays in achieving the perfect crust. The foundation of any great pizza dough starts with the right flour.
The Role of All-Purpose Flour in Pizza Dough
All-purpose flour is the primary ingredient in this homemade pizza dough recipe. Its moderate protein content strikes a balance between tenderness and chewiness, making it ideal for pizza. The protein content in flour develops gluten when combined with water and kneaded, which contributes to the dough’s elasticity and structure. While some purists might advocate for bread flour, all-purpose flour works exceptionally well for home cooks, offering a reliable result without the need for specialty ingredients.
Importance of Salt for Flavor Enhancement
Salt is not just a seasoning; it’s a crucial component of pizza dough that enhances the overall flavor. It helps to control the fermentation process of the yeast, ensuring that the dough rises properly while also adding depth to the taste of the finished product. Skimping on salt can result in bland dough, so it’s essential to use the right amount for a well-balanced flavor.
Sugar’s Function in Activating Yeast
Sugar plays a vital role in the dough-making process, particularly when it comes to activating the yeast. When mixed with warm water, sugar provides food for the yeast, allowing it to ferment and produce carbon dioxide, which helps the dough rise. While the sugar content is minimal, it’s crucial for ensuring a good rise and a slightly sweet flavor that complements the savory toppings.
Instant Yeast Versus Traditional Yeast: Benefits and Usage
Yeast is the magic ingredient that causes dough to rise, and there are different types available. Instant yeast, also known as rapid-rise yeast, is ideal for this pizza dough recipe due to its quick activation and ease of use. Unlike traditional active dry yeast, which requires proofing before use, instant yeast can be combined directly with the dry ingredients. This saves time and simplifies the process, making it perfect for busy home cooks who want to whip up pizza dough quickly.
The Significance of Lukewarm Water in Dough Preparation
Water is another fundamental component of pizza dough. The temperature of the water can significantly affect the yeast’s activity. Lukewarm water, ideally around 100°F (38°C), is the perfect temperature to help activate instant yeast without killing it. Using water that is too hot can scorch the yeast, while cold water can slow down the fermentation process, resulting in a dough that doesn’t rise properly. Therefore, measuring the water’s temperature is a small but crucial step in ensuring the success of your pizza dough.
Olive Oil: Adding Flavor and Aiding Dough Texture
Olive oil is often included in pizza dough recipes for several reasons. It adds a rich flavor to the crust and contributes to a tender texture. Additionally, the fat in olive oil helps to inhibit gluten formation, resulting in a softer dough that is easier to stretch. Furthermore, olive oil can enhance the browning of the crust during baking, giving it a beautiful color and a slightly crispy texture.
Optional Ingredients and Variations for Customization
While the basic dough can stand on its own, there are many optional ingredients and variations to consider. For those looking to experiment, incorporating herbs like dried oregano or garlic powder into the dry ingredients can add extra flavor. Whole wheat flour can be mixed with all-purpose flour for a healthier twist. Additionally, for a richer flavor profile, some cooks prefer to use a combination of different oils, such as infused oils, to enhance the taste of the crust.
Step-by-Step Guide to Making Pizza Dough
Now that we’ve covered the essential ingredients, it’s time to dive into the step-by-step process of making your own pizza dough. This guide will walk you through each stage, ensuring that you achieve the perfect texture and flavor.
Combining Dry Ingredients for a Uniform Mixture
1. Gather Your Ingredients: Start by measuring out your dry ingredients. You will need 4 cups of all-purpose flour, 1 teaspoon of salt, and 1 tablespoon of sugar.
2. Mix the Dry Ingredients: In a large mixing bowl, combine the flour, salt, and sugar. Use a whisk or a fork to mix them together thoroughly. This step is crucial as it ensures that the salt and sugar are evenly distributed throughout the flour, which will contribute to a uniform dough.
Mixing Wet Ingredients and the Science Behind Temperature
1. Prepare the Wet Mixture: In a separate bowl or measuring cup, combine 1 ½ cups of lukewarm water and 2 ¼ teaspoons (or a packet) of instant yeast. Stir gently to dissolve the yeast in the water.
2. Let It Sit: Allow the mixture to sit for about 5 minutes. This step is more critical for traditional yeast, but it helps to ensure that the yeast is active and ready to work, even when using instant yeast.
3. Add Olive Oil: After the yeast has dissolved, add 2 tablespoons of olive oil to the mixture. Olive oil not only enhances flavor but also helps in creating a soft dough.
Techniques for Forming the Dough: Stirring and Mixing Methods
1. Combine Wet and Dry Ingredients: Create a well in the center of the dry ingredients, then pour the wet yeast mixture into the well. Using a wooden spoon or spatula, slowly incorporate the flour into the wet mixture, starting from the edges of the well. Continue mixing until a shaggy dough begins to form.
2. Form a Ball: Once the mixture comes together, use your hands to knead the dough gently in the bowl. It should begin to form a cohesive ball, but it might still be sticky at this stage.
Detailed Kneading Techniques to Achieve the Right Texture
1. Knead on a Floured Surface: Transfer the dough ball to a lightly floured surface. Dust your hands and the surface with flour to prevent sticking.
2. Kneading Method: Use the heel of your hand to push the dough away from you, then fold it back over itself. Turn the dough a quarter turn and repeat the process. Knead for about 8-10 minutes, adding a little flour as needed to prevent sticking. The goal is to develop the gluten without overworking the dough, which should be smooth and elastic when finished.
Understanding the First Rise: How to Create the Perfect Environment for Dough Expansion
1. Prepare for Rising: Once kneading is complete, shape the dough into a ball and place it in a lightly oiled bowl, turning it to coat all sides with oil. This prevents the dough from drying out during the rise.
2. Cover and Let Rise: Cover the bowl with a clean kitchen towel or plastic wrap. Place it in a warm, draft-free area, allowing it to rise for about 1 to 1.5 hours, or until it has doubled in size.
3. Creating the Ideal Environment: The temperature and humidity of your environment play a significant role in how well your dough rises. If your kitchen is cool, consider placing the dough in a slightly warmed oven (turned off) or near a heater to encourage fermentation.
Tips for the Perfect Rise
To ensure your dough rises perfectly, there are several factors to consider:
Factors that Influence Dough Rising (Temperature, Humidity)
– Temperature: Yeast is sensitive to temperature changes. A warm environment encourages yeast activity, while cold temperatures can slow it down. Aim for a consistent temperature for optimal rising.
– Humidity: Higher humidity can increase the dough’s hydration level, while low humidity might require a bit more water. Adjusting your water content based on the climate can lead to better results.
Recognizing When Dough Has Risen Adequately
To check if your dough has risen sufficiently, gently press your finger into the dough. If the indentation remains and doesn’t spring back, it’s ready for the next step. If it bounces back immediately, give it more time to rise.
Troubleshooting Common Issues During the Rising Process
– Dough Not Rising: If your dough isn’t rising, ensure that your yeast is fresh and that the water was at the correct temperature. Additionally, check the environmental conditions—if it’s too cold, consider moving the dough to a warmer spot.
– Over-Risen Dough: If the dough has risen too much and seems to have collapsed, gently knead it back down and allow it to rise again for a shorter period.
With this foundational understanding of the ingredients and the steps involved, you are well on your way to creating the perfect crispy homemade pizza dough. The next part will delve deeper into shaping and baking your pizza, ensuring you achieve not only the crust but the overall pizza experience you desire.
Shaping Your Pizza
Once your dough has risen beautifully and is ready to work with, it’s time to shape your pizza. This step is crucial as it determines the thickness and texture of your crust.
Techniques for Dividing and Shaping the Dough
Begin by flouring your work surface generously to prevent sticking. Gently punch down the risen dough to release any trapped air bubbles. Divide the dough into equal portions based on how many pizzas you want to make. For a standard-size pizza, aim for a dough ball weighing around 10-12 ounces.
To shape the dough, start by flattening each ball slightly with your hands. Use your fingertips to gently stretch the dough outward, rotating it as you go. This method helps maintain the round shape while allowing the edges to form a thicker crust. If you prefer a more traditional approach, you can also use a rolling pin to roll the dough out, but be careful not to overwork it, as this can lead to a tough texture.
Options for Achieving Different Crust Thicknesses
The thickness of your crust can significantly impact your pizza experience. For a thin, crispy crust, stretch the dough to about 12-14 inches in diameter. If you prefer a thicker, chewier crust, aim for a diameter of about 10 inches. Remember that the dough will rise slightly during baking, creating a delightful airy texture.
The Importance of Surface Dusting to Prevent Sticking
Before placing your shaped dough on a pizza peel or baking sheet, dust the surface with flour or cornmeal. This step is essential to prevent sticking and allows for easy transfer to the oven. If you’re using a pizza stone, make sure to preheat it to ensure that the crust starts cooking immediately upon contact.
Pre-Baking and Its Benefits
Pre-baking your pizza crust can take your homemade pizza to the next level, enhancing the texture and flavor.
Why Pre-Baking Can Enhance Crust Texture
Pre-baking, or par-baking, involves partially baking the crust before adding toppings. This process helps to set the structure of the dough, preventing it from becoming soggy when the sauce and toppings are added. It also allows for a crispier bottom, giving you that restaurant-quality experience right at home.
Guidelines for Pre-Baking Temperature and Duration
To pre-bake your pizza crust, preheat your oven to 475°F (245°C). Place the shaped dough on a baking sheet or pizza stone and bake for about 5-7 minutes, or until it starts to turn a light golden color. Keep an eye on it to avoid over-baking, as you’ll be returning it to the oven with toppings later.
When to Skip Pre-Baking Based on Personal Preference
If you prefer a softer crust or are using ingredients that don’t release much moisture, you may choose to skip the pre-baking step. In this case, keep an eye on your pizza as it bakes to ensure the crust cooks thoroughly without becoming too soggy.
Topping Your Pizza
Now comes the fun part—topping your pizza! The possibilities are endless when it comes to creating your perfect pie.
Ideas for Classic and Unique Pizza Toppings
Start with a base of classic marinara sauce or opt for something different like pesto or a white garlic sauce. For cheese lovers, mozzarella is a must, but you can also experiment with provolone, gouda, or even vegan cheese alternatives.
When it comes to additional toppings, think beyond the usual pepperoni and mushrooms. Try roasted vegetables, fresh arugula, goat cheese, caramelized onions, or even seasonal fruits like figs or pears. For proteins, consider grilled chicken, prosciutto, or even a fried egg on top for a brunch-inspired pizza.
Suggestions on Layering Sauce, Cheese, and Toppings
For best results, start by spreading a thin layer of sauce evenly across the crust, leaving a small border around the edges. Next, sprinkle a generous amount of cheese, allowing it to melt beautifully and bind the toppings together. Finally, add your desired toppings, distributing them evenly to ensure balanced flavors in every bite.
How to Avoid Soggy Crust: Topping Techniques
To prevent a soggy crust, avoid overloading your pizza with sauce. Use a spoon to spread sauce lightly, ensuring it doesn’t pool in the center. Additionally, consider pre-cooking toppings that release a lot of moisture, such as mushrooms or spinach, to minimize moisture on the crust during baking.
Baking the Perfect Pizza
The baking process is where your pizza transforms from a raw dough into a mouthwatering masterpiece.
Oven Temperature Settings for Optimal Cooking
For the best results, keep your oven temperature high—475°F (245°C) is ideal. This high heat mimics the conditions of a traditional pizza oven, which helps achieve that coveted crispy crust and perfectly melted cheese.
Signs That Your Pizza Is Ready to Come Out of the Oven
Baking typically takes about 10-15 minutes, but this can vary depending on your oven and the thickness of your crust. Look for a golden-brown crust, bubbling cheese, and slightly charred edges. If you’re using a pizza stone, you’ll notice the bottom of the crust should be firm and crispy.
Techniques for Ensuring an Even Bake
To ensure an even bake, rotate your pizza halfway through the cooking time. This step is especially important if your oven has hot spots. Using a pizza peel can help you make this adjustment easily while minimizing disturbance to your crust.
Presenting and Enjoying Your Pizza
Once your pizza is perfectly baked, it’s time to let it cool and serve it up!
Cooling the Pizza: Why It’s Important
Allow your pizza to cool for a few minutes after it comes out of the oven. This resting period helps the cheese set and makes it easier to slice without pulling off all the toppings. If you cut too soon, you might end up with a messy pie!
Tips for Slicing and Serving
To slice your pizza, use a sharp pizza cutter or a large chef’s knife. For a cleaner cut, you can use a rocking motion rather than pressing down too hard, which can squish the toppings. Aim for even slices to ensure everyone gets a fair share!
Ideas for Pairing with Sides or Beverages
Homemade pizza pairs beautifully with a variety of sides and beverages. Serve it with a fresh salad, garlic bread, or antipasto platter for a complete meal. For drinks, consider a crisp white wine, a light beer, or even a refreshing soda to balance the flavors of your pizza.
Conclusion: The Joy of Homemade Pizza
Making pizza from scratch is not just about the meal; it’s about the experience. From kneading the dough to selecting your favorite toppings, each step allows for creativity and personalization. Whether you prefer classic flavors or bold combinations, the satisfaction of pulling a homemade pizza from the oven is unparalleled.
Don’t hesitate to experiment with your own variations—try different sauces, cheeses, and toppings to discover your perfect pizza. Share your creations with family and friends, turning pizza night into a cherished tradition. Remember, the joy of homemade pizza is not just in the eating, but in the making and sharing with those you love. So roll up your sleeves, get cooking, and savor every delicious slice!
