

As the sun shines brighter and the days grow longer, there’s nothing quite as refreshing as a scoop of homemade ice cream. If you’re looking to elevate your summer dessert game, look no further than Raspberry Velvet Ice Cream. This decadent treat is not only visually stunning with its vibrant pink hue but also offers a creamy texture that melts in your mouth. Raspberry Velvet Ice Cream is the epitome of summer indulgence, combining the tangy sweetness of fresh raspberries with a rich custard base, making it perfect for gatherings, casual desserts, or simply enjoying on a warm afternoon.
The Allure of Raspberry Velvet Ice Cream
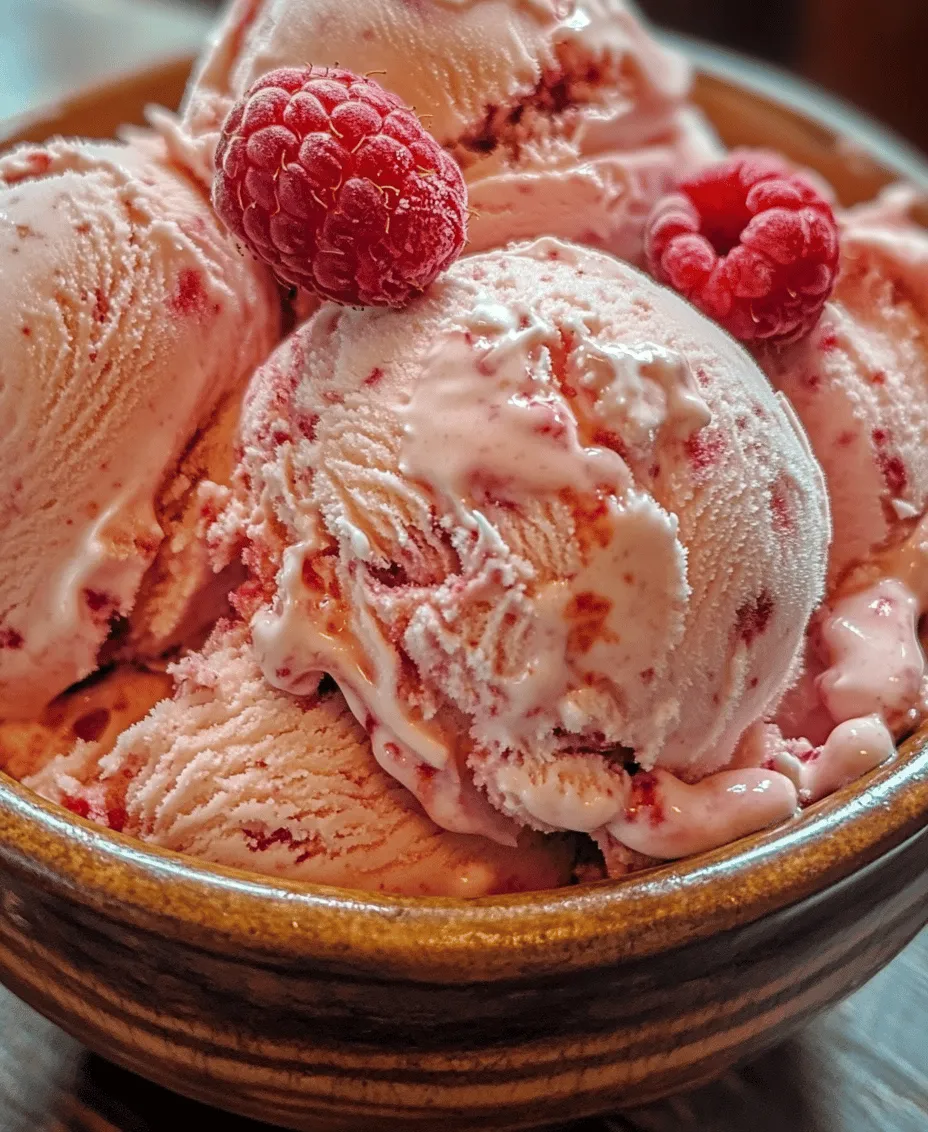
What makes Raspberry Velvet Ice Cream so appealing? First, consider the exquisite balance of flavors. The tartness of fresh raspberries pairs beautifully with the sweetness of sugar, while a hint of lemon juice adds a delightful zing, enhancing the overall taste. The smooth, creamy consistency is a testament to the quality of ingredients used, which is essential for achieving that luxurious mouthfeel.
In addition to its taste, the vibrant color of this ice cream is sure to impress your friends and family. Its rosy hue makes it a standout dessert that looks as good as it tastes. Whether served in a classic cone, a stylish bowl, or even as a topping for other desserts, Raspberry Velvet Ice Cream is bound to be a hit at any occasion.
The Seasonal Nature of Fresh Raspberries
One of the best aspects of this recipe is its reliance on fresh, seasonal raspberries. These juicy berries are not only delicious but also packed with health benefits. Raspberries are rich in antioxidants, vitamins C and K, and dietary fiber. They provide a delightful contrast to the creaminess of the ice cream, making it a guilt-free indulgence. The peak of raspberry season typically falls during late spring to early summer, so there’s no better time to whip up a batch of Raspberry Velvet Ice Cream than now. This recipe allows you to take advantage of the freshest produce, ensuring you get the best flavor possible.
Understanding the Ingredients
Before diving into the process of making Raspberry Velvet Ice Cream, let’s take a closer look at the key ingredients that contribute to its distinctive flavor and texture.
Fresh Raspberries
Raspberries are the star of this recipe. Their vibrant color and tartness provide the backbone of the ice cream’s flavor profile. Beyond their delicious taste, fresh raspberries are nutritional powerhouses. They are low in calories yet high in dietary fiber, making them an excellent choice for those looking to indulge without the guilt. Additionally, they are packed with vitamins and minerals, including vitamin C, which supports immune function, and manganese, which is important for metabolism.
Granulated Sugar
Sugar is essential in balancing the tartness of the raspberries while also contributing to the overall sweetness of the ice cream. It not only enhances flavor but also plays a crucial role in the texture of the final product. Sugar lowers the freezing point of the mixture, ensuring that the ice cream remains smooth and creamy instead of turning into a hard, icy block.
Lemon Juice
A splash of lemon juice is vital in this recipe. The acidity of lemon juice brightens the flavor of the raspberries and helps to balance the sweetness of the sugar and cream. This small addition makes a significant difference, creating a more complex flavor profile that makes each spoonful of ice cream a delight.
Heavy Cream vs. Whole Milk
When it comes to creating a rich and creamy texture, the choice between heavy cream and whole milk is crucial. Heavy cream contains a higher fat content, which contributes to the creaminess and richness of the ice cream. On the other hand, whole milk adds a lighter texture while still providing some creaminess. For the best results, a combination of both heavy cream and whole milk is often used, striking the right balance between richness and smoothness.
Egg Yolks
Egg yolks are a key ingredient for making a rich custard base, which is the foundation of any good ice cream. They add a velvety texture and a depth of flavor that elevates the ice cream from ordinary to extraordinary. The emulsifying properties of egg yolks help to combine the water and fat in the mixture, leading to a smoother texture.
Vanilla Extract
Vanilla extract is a classic flavor enhancer that complements the natural sweetness of the raspberries. A touch of vanilla adds warmth and depth, creating a more rounded flavor profile. It’s a simple addition that makes a significant impact on the overall taste of the ice cream.
Salt
Though it may seem counterintuitive, a pinch of salt is essential in ice cream recipes. Salt enhances the sweetness of the sugar and helps to balance the flavors. It also plays a role in lowering the freezing point of the mixture, contributing to a smoother texture.
Step-by-Step Guide to Making Raspberry Velvet Ice Cream
Now that we’ve covered the ingredients, let’s jump into the process of making Raspberry Velvet Ice Cream. This recipe involves a few essential steps, starting with preparing the raspberry puree.
Preparing the Raspberry Puree
1. Gather Fresh Raspberries: Start with 2 cups of fresh raspberries. Rinse them gently under cold water and pat them dry with a clean towel. Make sure to remove any stems or leaves.
2. Blend the Raspberries: Place the raspberries in a blender or food processor. Blend until smooth, ensuring that you break down the berries completely.
3. Strain the Puree: To achieve a silky texture, strain the blended raspberries through a fine-mesh sieve into a bowl. Use a spatula to press the puree against the sieve, extracting as much liquid as possible while leaving the seeds behind. This step is crucial for a smooth ice cream experience, as raspberry seeds can be quite unpleasant to bite into.
4. Set Aside the Puree: Once you have strained the puree, set it aside while you prepare the custard base. You should have about 1 cup of smooth raspberry puree, which will infuse your ice cream with vibrant flavor and color.
Creating the Custard Base
1. Combine Milk and Cream: In a medium saucepan, combine 1 cup of heavy cream and 1 cup of whole milk. This combination will create the creamy foundation of your ice cream.
2. Heat the Mixture: Place the saucepan over medium heat. Stir occasionally and heat the mixture until it is warm but not boiling. You want to bring it to just below a simmer, which helps to dissolve the sugar and infuse the flavors without curdling the cream.
3. Whisk Egg Yolks and Sugar: In a separate mixing bowl, whisk together 4 large egg yolks and 3/4 cup of granulated sugar until the mixture is pale and slightly thickened. This step is essential for creating a custard base that is rich and creamy.
4. Temper the Egg Yolks: To prevent the egg yolks from scrambling, you need to temper them. Gradually ladle a small amount of the warm milk and cream mixture into the bowl with the egg yolks while whisking constantly. This step raises the temperature of the yolks without cooking them.
5. Combine and Cook: Once the egg yolks are tempered, pour the entire mixture back into the saucepan with the remaining cream and milk. Continue to cook over medium heat, stirring constantly, until the mixture thickens enough to coat the back of a spoon. This usually takes about 5 to 7 minutes. You’ll know it’s ready when you can draw your finger through the custard on the spoon, and it leaves a line.
6. Strain the Custard Base: After thickening, strain the custard through a fine-mesh sieve into a clean bowl to remove any cooked egg bits and ensure a silky texture. This step is particularly important for achieving that velvety smoothness characteristic of high-quality ice cream.
7. Add Flavorings: To the warm custard, add the prepared raspberry puree, 1 tablespoon of fresh lemon juice, 1 teaspoon of vanilla extract, and a pinch of salt. Stir until everything is well combined. The heat from the custard will help meld the flavors together, creating a harmonious blend that’s bursting with raspberry goodness.
Thickening the Custard
The key indicators for knowing when your custard is ready include:
– Coating the Spoon: The custard should be thick enough to coat the back of a spoon. If you can run your finger through the custard and it holds its shape, it’s ready to be strained.
– Temperature: Ideally, the custard should reach a temperature of around 170°F (77°C). If you have a food thermometer, this can help ensure you’ve reached the right consistency without scrambling the eggs.
– Visual Cues: The custard should appear smooth and glossy. It should not have any lumps, and the color should be a pale yellow from the egg yolks.
By following these steps, you’ll create a luscious custard base that serves as the foundation for your Raspberry Velvet Ice Cream. In the next part of this article, we will explore the final steps of the ice cream-making process, including churning and freezing to achieve that perfect scoopable texture. Stay tuned for more delightful details on how to create this irresistible summer treat!
Tips on Stirring Techniques for a Smooth Finish
Achieving a smooth and creamy texture in your Raspberry Velvet Ice Cream is paramount, and mastering the stirring technique is crucial. Start by gently stirring the cream and custard mixture. Use a spatula or a large spoon to fold the ingredients together rather than whisking vigorously, which can incorporate too much air and lead to a frosty texture.
When you combine the ingredients, use a method similar to folding in egg whites. This means lifting the mixture from the bottom of the bowl and turning it over rather than beating it. This technique ensures that the fat from the cream remains intact, which is essential for maintaining a rich mouthfeel in your final product.
Blending the Cream and Custard
Now that you have your custard base ready, it’s time to blend it with the cream. Pour the cooled custard into a large mixing bowl and add the heavy cream. Using a spatula, gently fold the cream into the custard until fully combined. The key here is to maintain the lightness of the cream; avoid vigorous stirring that could deflate the mixture.
The combination of the rich custard and the airy cream will create the velvety texture that this ice cream is named after. Ensure that the mixed base is uniform in color and consistency before moving on to the next step.
Importance of Combining Ingredients Carefully
When creating your Raspberry Velvet Ice Cream, careful combination of your ingredients is vital. Each component plays a significant role in the texture and flavor profile of the ice cream. If the cream and custard are not well incorporated, you may end up with a grainy texture or uneven flavor distribution.
Additionally, when incorporating raspberry puree, make sure it is evenly distributed throughout the base. This not only enhances the flavor but also ensures that the beautiful raspberry color is evenly marbled throughout the ice cream, creating an appealing visual.
How to Achieve the Perfect Consistency for Ice Cream Base
The perfect consistency for your ice cream base should be thick yet pourable. After combining your cream and custard, it should coat the back of a spoon and leave a trail when you run your finger through it. If it feels too thin, it may require additional chilling to thicken. Refrigerate for another 30 minutes if necessary.
When you’re satisfied with the consistency, it’s time to incorporate the raspberry puree. This step is crucial as it not only adds flavor but also contributes to the overall consistency of the final product.
Combining the Raspberry Puree
To make the raspberry puree, blend fresh or frozen raspberries until smooth, then strain to remove the seeds for a silkier texture. Once you have your puree ready, gently fold it into the cream and custard mixture.
For a stunning visual effect, reserve a small amount of the puree to swirl in later. This way, you can create a beautiful marbled effect when you churn the ice cream.
Techniques for Creating a Marbled Effect
To achieve a marbled effect, use a spoon or spatula to gently fold the raspberry puree into the ice cream base without fully mixing it in. You want to create streaks of raspberry throughout the cream mixture.
The best approach is to add the puree in dollops and gently swirl it into the base, being careful not to overmix. The goal is to create a beautiful visual contrast between the creamy base and the vibrant raspberry swirls.
Visual Cues for the Desired Mixture Consistency
As you mix, keep an eye on the consistency. The final mixture should be thick enough to hold its shape yet smooth enough to pour. You will know it’s ready when it has a glossy appearance, and the raspberry puree creates beautiful, distinct swirls throughout the base.
If you find that your mixture is too runny, give it a brief chill in the refrigerator before moving on to the churning process.
Churning the Ice Cream
Once your ice cream base is ready, it’s time to churn it in your ice cream maker. Pour the mixture into the machine and follow the manufacturer’s instructions. Churning incorporates air into the mixture, which is essential for achieving the light and fluffy texture that is characteristic of ice cream.
During this process, expect to see the mixture increase in volume as it freezes. It’s important to monitor the ice cream as it churns; in about 20-30 minutes, it should reach a soft-serve consistency.
Explanation of the Churning Process in an Ice Cream Maker
The churning process in an ice cream maker works by scraping the sides of the bowl while the mixture freezes, preventing ice crystals from forming. This continuous movement ensures that the ice cream becomes aerated, resulting in a smoother texture.
If you do not have an ice cream maker, you can still achieve a great result by placing the mixture in a shallow dish and stirring it vigorously every 30 minutes for about 3-4 hours. This method, while more labor-intensive, will also help to break up ice crystals and achieve a creamy texture.
What to Expect in Terms of Texture and Consistency
When the churning process is complete, your ice cream should have a soft-serve consistency. It should be smooth, fluffy, and easy to scoop. If you prefer a firmer ice cream, transfer it to an airtight container and freeze it for an additional 2-4 hours.
When checking for texture, you should find that it holds its shape when scooped but is still creamy enough to melt in your mouth.
Freezing the Ice Cream
Once churned, it’s time to transfer your Raspberry Velvet Ice Cream to an airtight container. This step is essential to prevent freezer burn and maintain the ice cream’s texture.
To do this, use a spatula to transfer the ice cream from the mixer into the container, packing it down gently to remove any air pockets. Cover the surface with plastic wrap before sealing the container to minimize exposure to air.
Best Practices for Transferring to an Airtight Container
It’s best to use a container that is specifically designed for freezing, as this will help maintain the ice cream’s quality. Choose a shallow, wide container to allow for easier scooping later on. Once sealed, label the container with the date, so you know when to enjoy your homemade treat.
Explanation of Why Freezing is Essential for Texture
Freezing is crucial for developing the texture of your Raspberry Velvet Ice Cream. During this time, the flavors meld and the ice cream becomes firmer. The initial churning process creates tiny air bubbles that expand as the ice cream freezes, giving it that delightful, airy quality.
Additionally, a proper freeze time allows the ice crystals to stabilize, resulting in a smoother, creamier texture that is less icy and more velvety on your palate.
Serving Suggestions and Pairings
Now that your Raspberry Velvet Ice Cream is ready to serve, consider these creative serving ideas. Scoop the ice cream into bowls or cones and drizzle with homemade raspberry sauce for an extra burst of flavor. You can also layer it in a parfait glass with granola and fresh berries for a delicious dessert that’s visually appealing.
For garnishes, consider topping with fresh raspberries, a sprig of mint, or a dusting of powdered sugar to enhance the presentation. If you’re feeling indulgent, add a dollop of whipped cream or a sprinkle of chocolate shavings for added richness.
Pairing Options with Desserts or Beverages
Raspberry Velvet Ice Cream pairs beautifully with a variety of desserts and beverages. Serve it alongside a rich chocolate cake, where the tartness of the raspberry complements the sweetness of the chocolate.
For a refreshing drink pairing, consider a sparkling lemonade or a fruit-infused cocktail that echoes the flavors of the ice cream. The lightness of these beverages will balance the creaminess of the ice cream, making for a delightful combination.
Nutritional Information
While homemade ice cream is typically considered a treat, Raspberry Velvet Ice Cream can offer nutritional benefits, especially when made with fresh ingredients. Each serving is made with wholesome ingredients, providing antioxidants from the raspberries and healthy fats from the cream.
Overview of the Nutritional Benefits of Raspberry Velvet Ice Cream
Raspberries are rich in vitamins and minerals, including vitamin C, fiber, and manganese, making this ice cream a guilt-free indulgence. Using fresh fruit means you’re not only getting delicious flavor but also the nutritional benefits associated with it.
Caloric Breakdown per Serving
The caloric breakdown will vary based on your specific ingredients, but on average, one serving (about half a cup) of Raspberry Velvet Ice Cream contains approximately 200-250 calories. This includes healthy fats from the cream and natural sugars from the raspberries.
Health Aspects of Using Fresh Fruits in Desserts
Incorporating fresh fruits like raspberries into desserts not only enhances flavor but also provides essential nutrients. Unlike store-bought options that may contain artificial flavors and preservatives, homemade ice cream allows you to control the ingredients, ensuring a healthier alternative.
Conclusion
Making your own Raspberry Velvet Ice Cream is not just a delightful culinary project; it’s a way to enjoy the refreshing essence of summer right at home. The joy of creating this treat lies in the process, from selecting fresh ingredients to savoring that first scoop of creamy, fruity goodness.
We encourage you to try making this recipe at home; it is an easy and rewarding way to celebrate seasonal ingredients. The vibrant color and rich flavor of Raspberry Velvet Ice Cream make it an impressive addition to any dessert table, and the satisfaction of creating it from scratch is unmatched.
In a world filled with mass-produced desserts, embracing homemade treats allows you to enjoy the true flavors of your favorite ingredients. So gather your ingredients and get ready to indulge in the deliciousness of Raspberry Velvet Ice Cream—your taste buds will thank you!
