

Introduction
If you’re on the hunt for a delightful treat that beautifully combines the rich, creamy flavor of cheesecake with the sweetness of fresh strawberries, look no further than strawberry cheesecake sweet rolls. These indulgent rolls are more than just a dessert; they have the versatility to shine as a breakfast option, a sweet snack at gatherings, or a show-stopping addition to any brunch spread. The fluffy dough is enveloped around a luscious cheesecake filling, studded with juicy strawberries, and topped with a sweet glaze that brings the whole dish together.
The appeal of strawberry cheesecake sweet rolls lies not just in their flavor but also in their texture—soft, pillowy rolls that melt in your mouth. The warm, gooey filling contrasts perfectly with the slight chewiness of the dough, making each bite a heavenly experience. Whether you’re a seasoned baker or trying your hand at sweet rolls for the first time, this recipe is approachable and rewarding, promising a treat that will impress both family and friends.
Understanding the Ingredients
To create perfect strawberry cheesecake sweet rolls, it’s essential to understand the key ingredients that make this recipe shine. Using high-quality components will elevate the overall flavor and texture of your rolls, ensuring that each bite is as delicious as the last.
All-Purpose Flour
The foundation of any great dough starts with flour, and in this recipe, all-purpose flour is the star. It provides the necessary structure and stability for the rolls, allowing them to rise beautifully while retaining a soft, fluffy texture. When measuring flour, it’s important to spoon it into your measuring cup and level it off to avoid compacting, which can lead to dense rolls.
Active Dry Yeast
Yeast is the magic ingredient that brings the dough to life. Active dry yeast helps the dough rise, creating that light and airy texture we all love in sweet rolls. For best results, it’s crucial to activate the yeast in warm milk (not boiling), as the right temperature will encourage the yeast to bloom, producing carbon dioxide that causes the dough to rise.
Cream Cheese
Cream cheese is the heart of the cheesecake filling in these rolls. It provides a rich and creamy texture that complements the strawberries perfectly. To achieve a smooth filling, ensure that your cream cheese is at room temperature before mixing. This will prevent lumps and create a velvety filling that spreads easily.
Fresh Strawberries
Nothing beats the flavor of fresh strawberries. They not only add a burst of sweetness but also bring a refreshing element to the rich cheesecake filling. When selecting strawberries, look for bright red berries that are firm to the touch, as this indicates ripeness and sweetness.
Powdered Sugar and Milk
These ingredients come together to create a simple glaze that adds a touch of sweetness and visual appeal to your rolls. The powdered sugar dissolves easily in milk, allowing for a smooth, drizzleable consistency that enhances the overall experience of the sweet rolls.
The Dough Preparation
Creating the dough for your strawberry cheesecake sweet rolls is a straightforward process, but it requires attention to detail to ensure the best results. Follow these steps for success:
1. Combine Warm Milk and Yeast
Start by warming your milk to about 110°F (43°C). This temperature is warm enough to activate the yeast without killing it. Measure out your milk and pour it into a mixing bowl, then sprinkle the active dry yeast over the top. Allow it to sit for about 5 to 10 minutes until it becomes frothy. This step is crucial; if your yeast doesn’t froth, it may be expired, and you’ll need to start over with fresh yeast.
2. Add Butter, Sugar, and Eggs
Once your yeast is frothy, add melted butter, sugar, and eggs to the mixture. The butter contributes to the richness of the rolls, while the sugar not only sweetens the dough but also aids in browning during baking. Lightly whisk the ingredients together until well combined.
3. Gradual Incorporation of Flour
Next, begin incorporating your all-purpose flour into the mixture. Start by adding one cup at a time, mixing well after each addition. This gradual method helps prevent clumping and allows you to gauge the consistency of your dough. The goal here is to achieve a soft, slightly sticky dough that pulls away from the sides of the bowl.
4. Kneading Technique
Once the flour is fully incorporated, transfer the dough onto a lightly floured surface. Knead the dough for about 5 to 10 minutes. You’ll know the dough is ready when it is smooth and elastic, and it springs back when you poke it with your finger. If the dough is too sticky, sprinkle a little more flour as needed.
5. Letting the Dough Rise
After kneading, place the dough in a greased bowl and cover it with a damp cloth or plastic wrap. Allow it to rise in a warm, draft-free spot for about 1 hour or until it has doubled in size. This step is essential for developing the dough’s texture, so be patient and let the yeast do its job.
Creating the Cheesecake Filling
While your dough is rising, you can prepare the cheesecake filling. This is a key step that will ensure your rolls are bursting with flavor.
1. Preparing the Cream Cheese
Begin by taking your cream cheese out of the refrigerator and letting it sit at room temperature for about 30 minutes. This softening process is vital for achieving a smooth and creamy filling.
2. Mixing in Sugar and Vanilla
In a mixing bowl, combine the softened cream cheese with sugar and vanilla extract. Use an electric mixer or a whisk to blend the ingredients until they are smooth and creamy. The sugar not only sweetens the filling but also enhances the overall flavor profile.
3. Folding in Strawberries
Once your cream cheese mixture is smooth, gently fold in the diced fresh strawberries. Take care not to overmix, as you want to maintain the integrity of the strawberries and prevent them from breaking down completely. The goal is to have small chunks of strawberries distributed throughout the creamy filling, ready to burst with flavor in every bite of the sweet roll.
By understanding the ingredients and following these detailed steps for preparing the dough and filling, you’re well on your way to creating the most delicious strawberry cheesecake sweet rolls. Stay tuned for the next part, where we’ll dive into assembling and baking these delightful rolls to golden perfection.
Optional Lemon Zest: Adding Brightness to the Filling
To elevate your Strawberry Cheesecake Sweet Rolls, consider incorporating optional lemon zest into the filling. The zest adds a delightful brightness that complements the sweetness of the strawberries and the richness of the cream cheese. Simply use a microplane to grate the outer peel of a lemon, being careful to avoid the bitter white pith underneath. About one teaspoon of fresh lemon zest mixed into your cream cheese filling will infuse your rolls with a fresh, zesty flavor that enhances the overall taste experience.
Rolling and Shaping the Sweet Rolls
Rolling Out the Dough
Once your dough has risen and doubled in size, it’s time to roll it out. Flour your work surface generously to prevent sticking. Using a rolling pin, gently flatten the dough into a rectangle approximately 1/4-inch thick. Aim for a size of about 12×18 inches; this will allow for optimal filling distribution and the perfect number of rolls. If the dough seems resistant, allow it to rest for a few minutes before continuing to roll it out. This will make it easier to handle and shape.
Spreading the Filling
With the dough rolled out, prepare to spread the filling. Use a spatula or the back of a spoon to evenly distribute the cream cheese mixture across the surface of the dough, leaving about half an inch around the edges. This will ensure that the filling doesn’t spill out when you roll the dough up. Be sure to spread the filling evenly to achieve consistent flavors in every bite.
Rolling the Dough into a Log
After spreading the filling, it’s time to roll the dough into a log. Starting from the long edge, carefully roll the dough away from you, keeping it tight but not so tight that the filling bursts out. Use your fingers to pinch the seams together as you roll to help maintain the log shape. Once fully rolled, you should have a long log of dough filled with the sweet strawberry cheesecake mixture.
Slicing the Rolls
To slice the rolls into individual pieces, use a sharp knife or a piece of unflavored dental floss. If using a knife, ensure it’s sharp to avoid squishing the rolls. For the dental floss method, slide a length of floss underneath the log, cross the ends over the top, and pull tightly to make a clean cut. This method is particularly effective for maintaining the round shape of the rolls. Aim for about 1.5 inches in width for each slice, which should yield approximately 12 rolls.
The Rising Process
Importance of the First and Second Rise
The rising process is crucial for achieving fluffy, light sweet rolls. The first rise occurs after you’ve kneaded the dough, allowing the yeast to ferment and produce carbon dioxide, which causes the dough to expand. The second rise happens after shaping the rolls and allows them to puff up again, ensuring they’re airy and tender when baked.
How Yeast Works During Rising
Yeast is a living organism that plays a vital role in bread-making. During the rising process, yeast consumes sugars present in the dough and produces carbon dioxide and alcohol as byproducts. The carbon dioxide gets trapped in the dough, causing it to rise and develop a delightful texture. This is why it’s essential to give your dough enough time to rise; rushing this step can result in dense rolls.
Ideal Conditions for Rising
For optimal rising, place your dough in a warm, draft-free environment. The ideal temperature for yeast activation is around 75°F to 85°F (24°C to 29°C). If your kitchen is cool, consider placing the dough in an oven preheated to the lowest setting for a few minutes, then turned off. Cover the dough with a clean kitchen towel or plastic wrap to maintain humidity during the rising process.
Baking the Rolls
Preheating the Oven
Preheating your oven is a crucial step in the baking process. It ensures that your rolls bake evenly from the moment they are placed in the oven. Set your oven to 350°F (175°C) and allow it to preheat fully before placing your rolls inside. This consistent heat helps achieve that perfect golden-brown crust.
Baking Duration and Signs of Doneness
Bake the rolls for approximately 25 to 30 minutes, but keep an eye on them as baking times may vary depending on your oven. You’ll know they’re done when they are golden brown on top and sound hollow when tapped lightly on the bottom. An internal temperature of 190°F (88°C) is another reliable indicator for baked goods. A toothpick inserted into the center should come out clean or with only a few moist crumbs.
Tips for Ensuring Even Baking
To ensure your rolls bake evenly, position the baking tray in the center of the oven. Avoid overcrowding the rolls on the tray, as this can lead to uneven baking. If you have multiple trays, rotate them halfway through the baking time to promote uniform heat distribution.
Making the Glaze
Instructions for Preparing the Glaze
While your rolls are baking, it’s the perfect time to prepare the glaze. In a small bowl, whisk together powdered sugar, milk, and a splash of vanilla extract until smooth. Start with two tablespoons of milk and adjust the consistency as needed; you’re aiming for a pourable glaze that will drizzle beautifully over the warm rolls.
Adjusting Consistency with Milk
If your glaze is too thick, gradually add more milk, one teaspoon at a time, until you reach the desired pourable consistency. Conversely, if it’s too thin, mix in additional powdered sugar until it thickens up. The glaze should be just thick enough to coat the back of a spoon without completely dripping off.
Importance of the Glaze for Flavor and Presentation
The glaze plays a vital role in both flavor and presentation. Not only does it add sweetness, enhancing the overall taste of the Strawberry Cheesecake Sweet Rolls, but it also creates an appealing glossy finish that makes the rolls look irresistible. Drizzling the glaze over the warm rolls will allow it to melt slightly, creating a delightful combination of textures.
Serving and Enjoying
Suggestions for Serving the Rolls Warm
Strawberry Cheesecake Sweet Rolls are best served warm, right out of the oven. This is when they are at their fluffiest and most flavorful. Consider gathering friends and family around the kitchen to enjoy the warm aroma before the rolls are even served. Place the rolls on a large platter for a beautiful presentation.
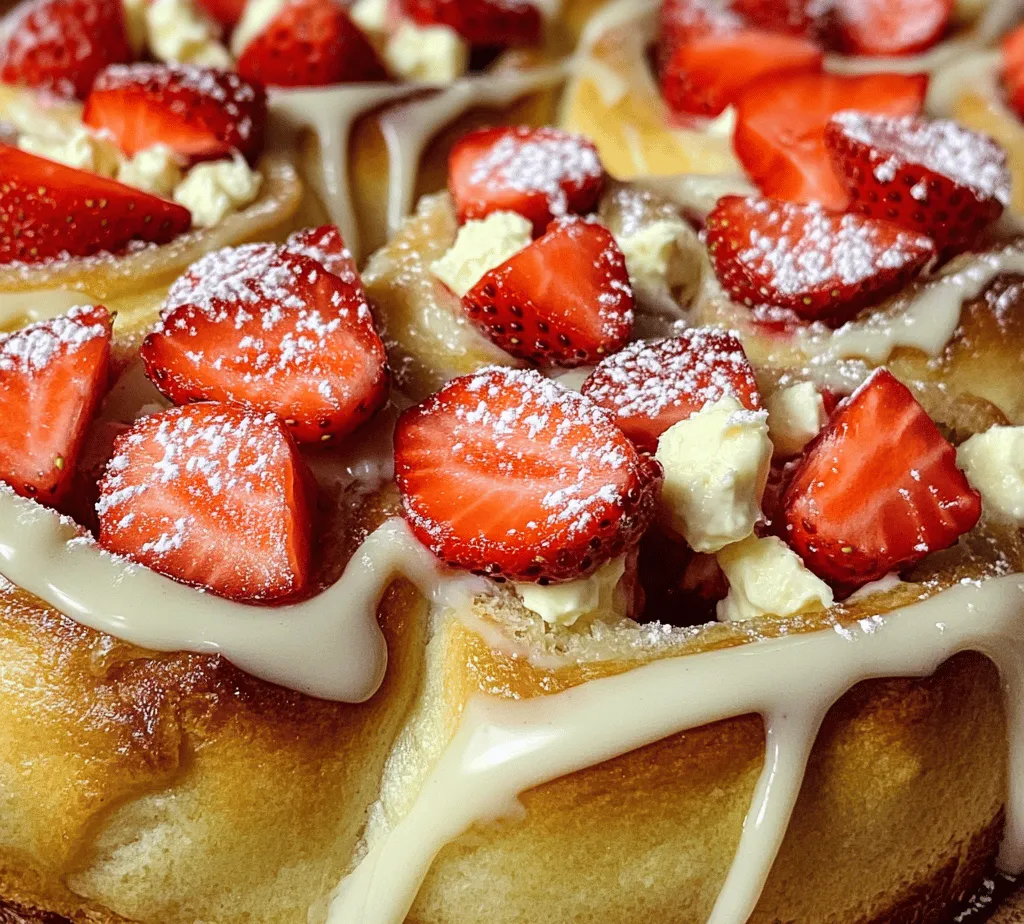
Possible Garnishes: Extra Strawberries and Presentation Ideas
For an elevated presentation, consider garnishing the rolls with fresh strawberries. Simply slice a few strawberries and scatter them over the rolls or serve them on the side. A sprinkle of powdered sugar can also add a touch of elegance. For a more rustic look, place the rolls in a cast-iron skillet or a wooden board for serving, making them look inviting and homemade.
Pairing Suggestions
To complement the flavors of your Strawberry Cheesecake Sweet Rolls, consider serving them with a hot cup of coffee or tea. The rich flavors meld beautifully with a warm beverage. For a lighter option, a glass of milk is also an excellent pairing, enhancing the sweet and creamy elements of the rolls.
Conclusion
Recapping the delightful experience of making and enjoying Strawberry Cheesecake Sweet Rolls, it’s clear that this recipe is more than just a treat; it’s an opportunity to create lasting memories in the kitchen. The combination of soft, pillowy dough filled with creamy cheesecake and fresh strawberries, topped with a luscious glaze, makes these rolls a perfect addition to any brunch or dessert table.
We encourage you to try this recipe and share it with your loved ones. Whether it’s a cozy weekend breakfast or a special occasion, these sweet rolls are sure to impress. Reflect on the joy of baking and the warmth that comes from creating something delicious to share with family and friends. With each bite, you’ll experience the love and care that goes into baking, making it a rewarding endeavor every time. Enjoy the process, and happy baking!
